
Creating a sourdough starter from scratch can feel like a daunting task, but once I embraced the process, I found it incredibly rewarding. My first attempt at making an easy sourdough starter was during a chilly winter, and the cozy smell of sourdough wafting through the house was pure magic. The process taught me patience and became a comforting ritual.
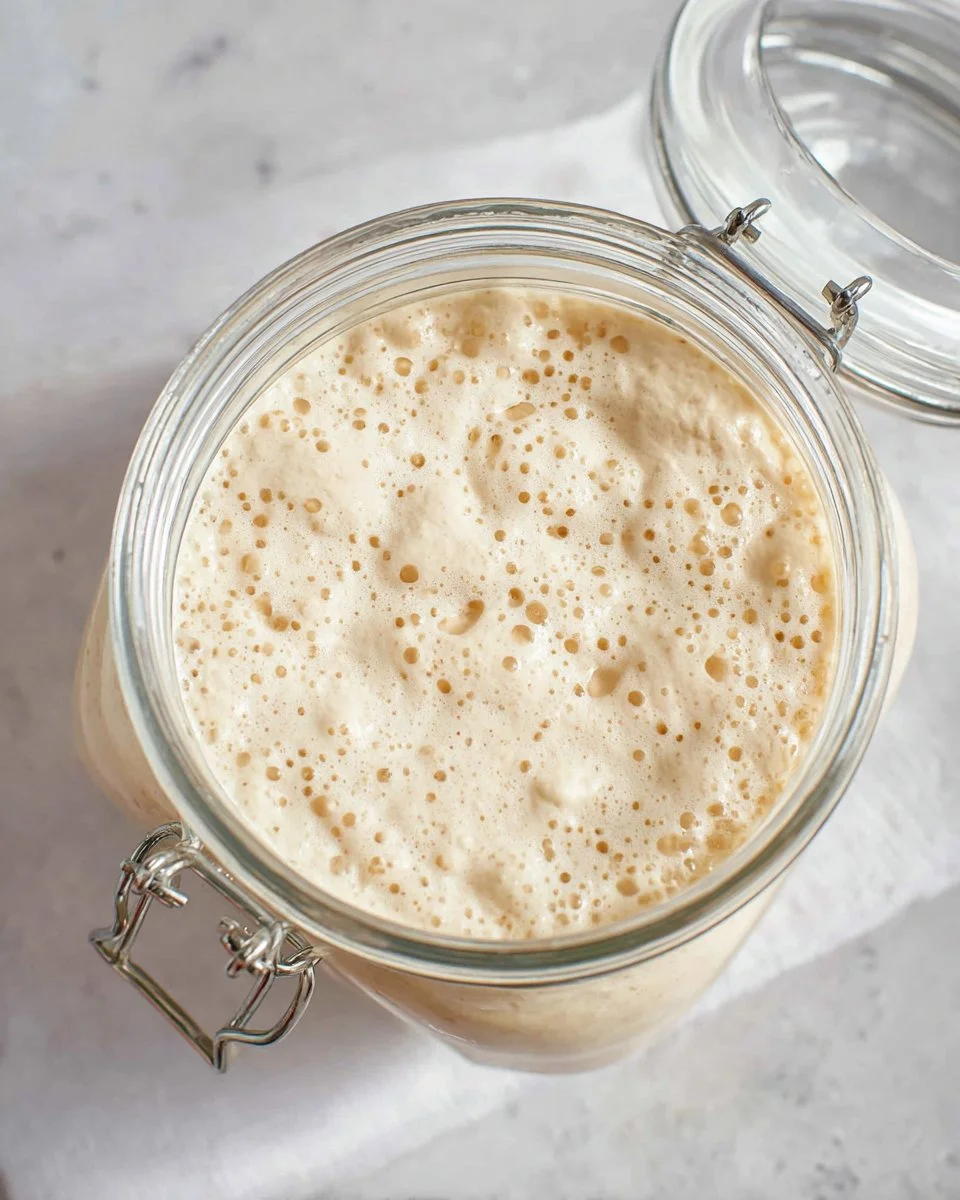
With just two ingredients, you can cultivate a living culture that will bring amazing flavor to your bread. This simple recipe provides hands-on experience with fermentation, allowing you to see the transformation day by day. Let’s dive into this beginner-friendly guide.
Jump to:
Why You’ll Love This Recipe
- Simple Ingredients: Only two pantry staples needed to create a living starter from scratch.
- Hands-On Learning: Learn the art of fermentation through this straightforward yet satisfying process.
- Consistent Results: Follow these clear steps to achieve a bubbly, active starter in just a week.
- Cost-Effective: Make your own sourdough starter without expensive store-bought cultures.
- Versatile Use: Once ready, use your starter to bake everything from traditional loaves to delicious pancakes.
Ingredients You'll Need
- White All-Purpose Flour – 700 grams. Serves as the base to cultivate yeast and bacteria.
- Filtered Water – 700 grams. Hydrates the flour and aids in fermentation; filtering ensures purity.
How to Make Sourdough Starter
Step 1: Begin Your Journey
In a medium-sized glass bowl, mix together 50 grams of filtered water and 50 grams of white all-purpose flour. Stir well until there are no lumps left, then cover the bowl and let it sit at room temperature for 24 hours.
Step 2: Build on Day 1
To yesterday’s mixture, add another 50 grams of flour and 50 grams of water. Stir until the mixture is smooth, cover it again, and let it sit out at room temperature.
Step 3: Revitalize Your Starter
On Day 3, discard half of your established starter. Add 100 grams of flour and 100 grams of water to the remaining mixture, stir well, and cover. Allow it to sit at room temperature once more.
Step 4: Continue the Cycle
Throw away half of the starter. To the remaining half, add 150 grams of flour and 150 grams of water. Mix thoroughly, cover, and let it rest at room temperature.
Step 5: Strengthen Further
Discard half of your starter again, leaving room for 150 grams of flour and 150 grams of water to be added. Stir well, cover, and let it sit at room temperature.
Step 6: Ready for the Final Push
Once more, discard half of the starter. Add 200 grams each of flour and water, mixing well. Cover it, leaving it at room temperature to ferment.
Step 7: Assess Readiness
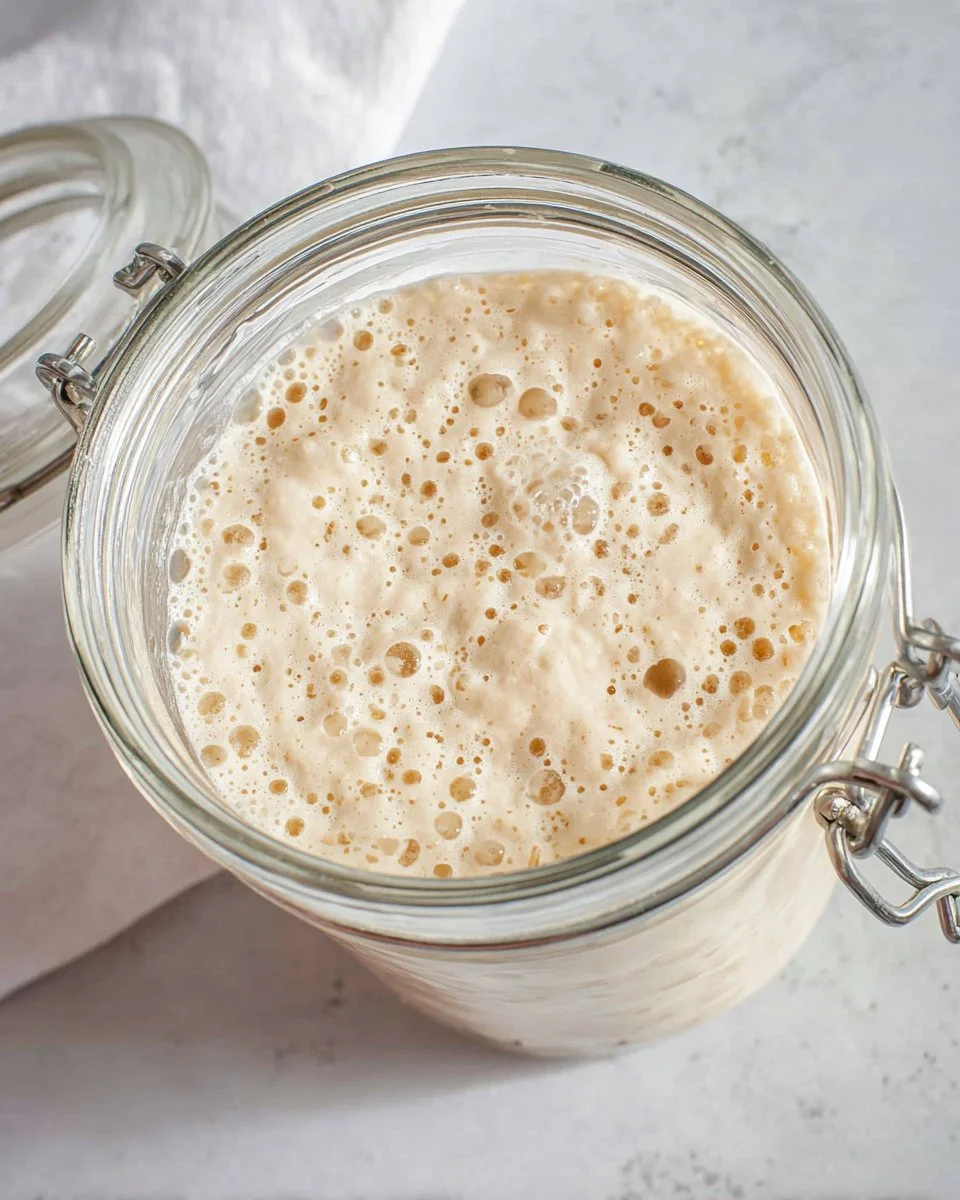
On Day 7, check if the starter looks ready. If it resembles the bubbly and slightly sour photo, like example C, it's ready to use. If not, it may need another day of feeding and resting.
Pro Tips from My Kitchen
✓ Use Glass or Plastic – Opt for a glass or plastic container as metal can react with the acids in the starter.
✓ Embrace Temperature – Slightly warmer environments will speed up fermentation, but aim for a consistent room temperature.
✓ Maintain a Routine – Feeding your starter at the same time each day helps establish a strong rhythm and more predictable results.
✓ Observe and Adjust – Watch for bubbles and smell. If the starter develops a strong sour odor, adjust feedings to twice a day.
✓ Get Creative – Once your starter is active, experiment with different flours for unique flavors.
What Makes This Recipe Work
- The interaction between flour and water in this recipe creates a perfect environment for wild yeasts and lactic acid bacteria to thrive. As a result, a natural leavening agent forms, giving your bread that distinct sourdough taste and airy crumb.
- Daily feedings enhance activity and strength in the starter. This regular addition of fresh flour and water ensures consistent fermentation and reduces the risk of spoilage.
- The gradual increase in ingredient quantities over the week allows the starter to slowly build up in bulk and strength, preparing it for effective leavening once it’s fully matured.
Frequently Asked Questions About Sourdough Starter
Yes, you can substitute whole wheat flour for a portion or all of the white flour. Whole wheat contains more nutrients and tends to ferment faster, potentially speeding up the activation process.
If you don't see bubbles by Day 3, consider raising the temperature or moving the starter to a warmer spot in your kitchen. Consistent warmth often helps boost bacterial activity.
Once active, store your starter in the refrigerator if you aren’t using it daily. This will slow fermentation down. Before baking, let it come to room temperature and feed it a couple of times.
This separation, called "hooch," is normal and indicates that your starter is hungry. Simply pour it off or stir it back in, and then feed your starter more often.
Sourdough bread complements a wide variety of dishes. Enjoy it toasted with butter, pair it with soups and stews, or use it as a base for sandwiches and bruschetta.
Sourdough Starter Recipe
Ingredients
- 700 grams White All-Purpose Flour
- 700 grams Filtered Water
Instructions
- Day 1: In a medium-sized glass bowl, mix together 50 grams of filtered water and 50 grams of white all-purpose flour. Stir well until there are no lumps left, then cover the bowl and let it sit at room temperature for 24 hours.
- Day 2: To yesterday’s mixture, add another 50 grams of flour and 50 grams of water. Stir until the mixture is smooth, cover it again, and let it sit out at room temperature.
- Day 3: Discard half of your established starter. Add 100 grams of flour and 100 grams of water to the remaining mixture, stir well, and cover. Allow it to sit at room temperature once more.
- Day 4: Throw away half of the starter. To the remaining half, add 150 grams of flour and 150 grams of water. Mix thoroughly, cover, and let it rest at room temperature.
- Day 5: Discard half of your starter again, leaving room for 150 grams of flour and 150 grams of water to be added. Stir well, cover, and let it sit at room temperature.
- Day 6: Once more, discard half of the starter. Add 200 grams each of flour and water, mixing well. Cover it, leaving it at room temperature to ferment.
- Day 7: Check if the starter looks ready. If it resembles a bubbly and slightly sour consistency, it's ready to use. If not, it may need another day of feeding and resting.
Notes
- Use glass or plastic containers to avoid reactions with metal.
- Maintain a feeding routine for best results.
- Experiment with different flours when the starter is active for unique flavors.


Leave a Reply