
When it comes to comfort food, crispy onion rings are a must-have. I remember the first time I made them at home and the delight of biting into that perfect crispiness. It was a revelation, learning how simple tweaks could elevate a basic onion into something so delicious.

These onion rings offer a crunch that rivals anything you might find at your favorite diner. Perfect as a snack or a side dish, this recipe brings together delightful flavors with a crispy finish that will have everyone reaching for more. Ready to get started? Let’s dive in!
Jump to:
Why You’ll Love This Recipe
- Extra Crispy Texture: Each bite is an explosion of crunch, thanks to the perfectly seasoned coating.
- Simple Ingredients: Made with kitchen staples, you won’t need to hunt for anything exotic.
- Quick and Easy: This recipe comes together in no time, making it perfect for last-minute gatherings.
- Flavorful and Tasty: A blend of smoked paprika and spices makes these onion rings irresistible.
- Versatile Snack: Great as an appetizer, side dish, or game-day treat.
Ingredients You'll Need
- Onion – 1. Gives the dish its core flavor and texture.
- All Purpose Flour – ½ cup. Forms the base of the coating that helps achieve crispness.
- Baking Powder – 1 tablespoon. Adds lightness to the batter, ensuring a fluffy interior.
- Smoked Paprika – 1 tablespoon. Provides a smoky depth that enhances flavor.
- Egg – 1. Binds the batter together for even coating.
- Milk – ¾ cup. Creates a smooth batter that adheres well to the onions.
- Ground Pepper – 1 teaspoon. Adds a hint of spice to the flavor profile.
- Table Salt – 1 teaspoon. Enhances overall taste, balancing flavors.
- Bread Crumbs – To coat. Gives the onion rings a crunchy exterior.
- Canola Oil – For frying. Ensures a crispy fry with a neutral taste.
How to Make Crispy Onion Rings
Step 1: Prepare the Onions
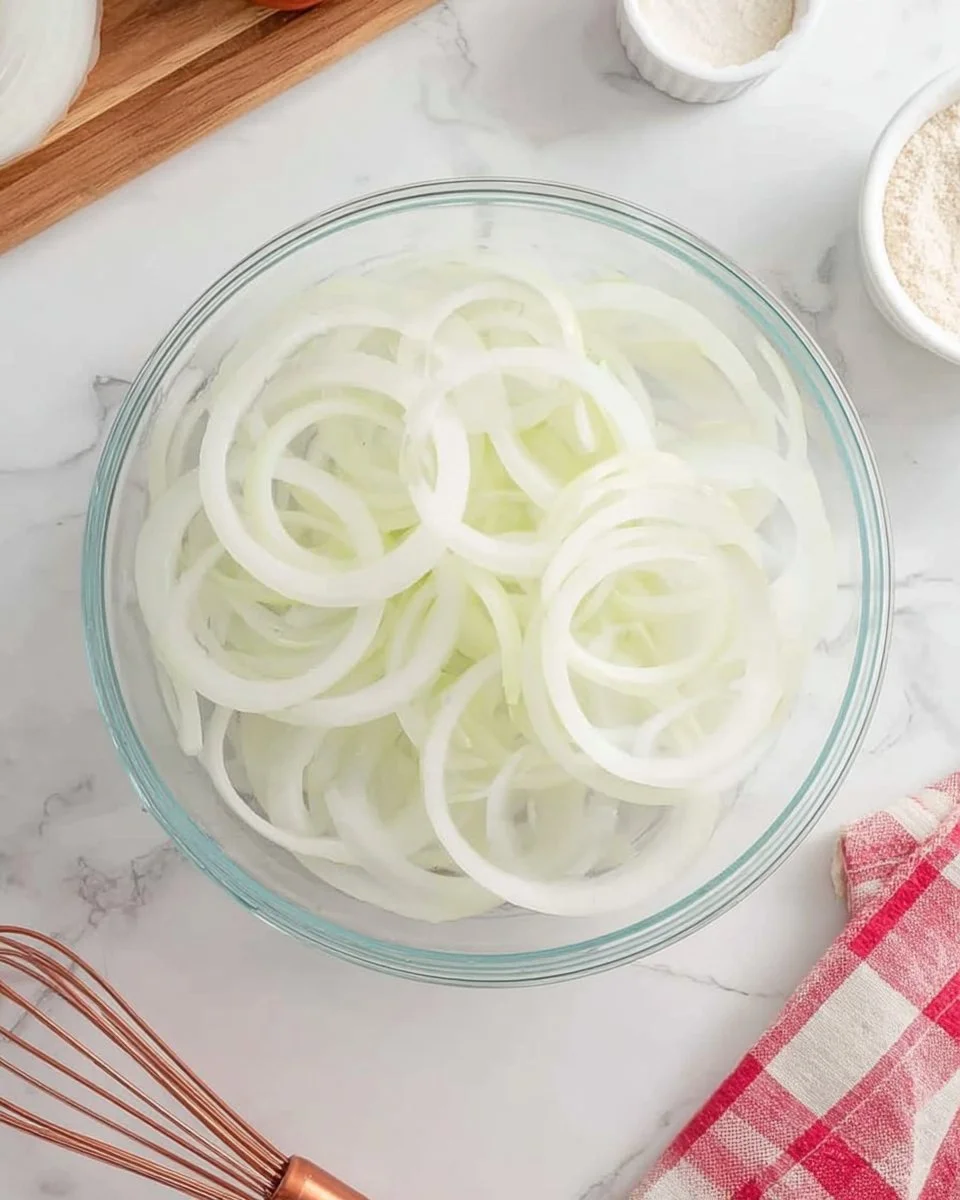
Rinse the onion thoroughly and slice it into rings about ¼ inch thick. Gently separate the rings, putting aside any smaller ones for other uses.
Step 2: Create the Dry Coating Mixture
In a medium bowl, combine the flour, baking powder, paprika, pepper, and salt. Mix well to ensure even distribution.
Step 3: Coat the Onions with Dry Mixture
Dip each onion ring into the dry flour mixture, ensuring an even coating all around. Set these coated rings aside for later use.
Step 4: Mix the Wet Batter
Combine any remaining flour mixture with milk, the egg, and a bit of salt. Blend it thoroughly until it’s smooth with no lumps.
Step 5: Coat and Fry
Dip each pre-coated onion ring into the wet batter, letting the excess drip off. Then, coat in breadcrumbs. Fry the onion rings in a pot with canola oil until golden and crispy.
Pro Tips from My Kitchen
✓ Perfect Oil Temperature – Ensure your oil is hot enough by dropping a small piece of batter in; it should sizzle immediately.
✓ Even Slices – Uniform onion slices cook more evenly, resulting in a consistent texture across all rings.
✓ Double Coating – For extra crispiness, consider double-coating with breadcrumbs after the first fry.
✓ Season Immediately – Sprinkle a bit of extra salt or spices as soon as they’re out of the oil for enhanced flavor.
✓ Keep Warm – If making batches, keep them warm in the oven at a low temperature so they stay crispy until serving.
What Makes This Recipe Work
- The combination of flour and baking powder provides a light and crispy texture that complements the onion’s natural sweetness. The baking powder ensures the coating doesn’t feel dense but rather light and airy.
- Using smoked paprika gives a subtle depth that pairs beautifully with the sweetness of the onion, enhancing the overall flavor profile. A touch of spice from the pepper balances the flavors, making them irresistible.
- The method of double-coating and frying ensures the onion rings remain crunchy on the outside while soft and well-cooked on the inside. The oil's neutral flavor complements rather than overpowers the onion.
Frequently Asked Questions About Crispy Onion Rings
Yes, you can use crushed cornflakes or panko for a different kind of crunch. Both alternatives will still provide a crispy texture.
The onion rings should be golden brown and crispy after about 3-4 minutes of frying on medium heat. They should also float to the surface of the oil.
It’s best to enjoy them fresh for optimum crispiness, but you can prepare the batter and coat the onions in advance. Fry them just before serving for best results.
Ensure the oil is at the right temperature before frying. If the oil is too cool, the rings will absorb more oil and become soggy.
These onion rings pair wonderfully with a zesty dip like ranch or spicy mayo. They also complement burgers and grilled meats perfectly.

Crispy Onion Rings Recipe
Ingredients
- 1 whole Onion
- ½ cup All Purpose Flour
- 1 tablespoon Baking Powder
- 1 tablespoon Smoked Paprika
- 1 whole Egg
- ¾ cup Milk
- 1 teaspoon Ground Pepper
- 1 teaspoon Table Salt
- To coat Bread Crumbs
- For frying Canola Oil
Instructions
- Rinse the onion thoroughly and slice it into rings about ¼ inch thick. Gently separate the rings, putting aside any smaller ones for other uses.
- In a medium bowl, combine the flour, baking powder, paprika, pepper, and salt. Mix well to ensure even distribution.
- Dip each onion ring into the dry flour mixture, ensuring an even coating all around. Set these coated rings aside for later use.
- Combine any remaining flour mixture with milk, the egg, and a bit of salt. Blend it thoroughly until it’s smooth with no lumps.
- Dip each pre-coated onion ring into the wet batter, letting the excess drip off. Then, coat in breadcrumbs. Fry the onion rings in a pot with canola oil until golden and crispy.
Notes
- Ensure your oil is hot enough by dropping a small piece of batter in; it should sizzle immediately.
- Uniform onion slices cook more evenly, resulting in a consistent texture across all rings.
- For extra crispiness, consider double-coating with breadcrumbs after the first fry.
- Sprinkle extra salt or spices as soon as they’re out of the oil for enhanced flavor.
- Keep warm in the oven at a low temperature if making batches.




Leave a Reply